

Overview
Migration in Laravel makes it possible to create tables in your database without using your database manager. This can be done right within your terminal with the use of laravel artisan command, php artisan make:migration. Migration in laravel is beneficial to developers as it helps to synchronize changes made to a database from different computers. Migration also helps to safely roll back a database if there is an error.
Create A Database In Xampp And Setup The .env File
Next up, you are going to use phpMyAdmin in XAMPP to create a database and set up the .env file in your Laravel application.
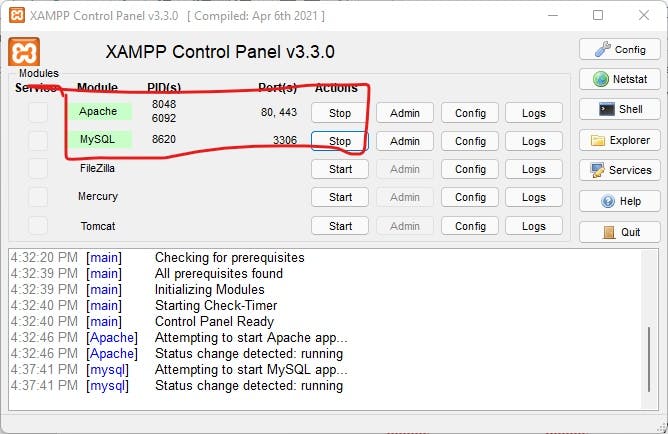
Now let’s create a database. Open XAMPP. Make sure that Apache and MySQL are running.
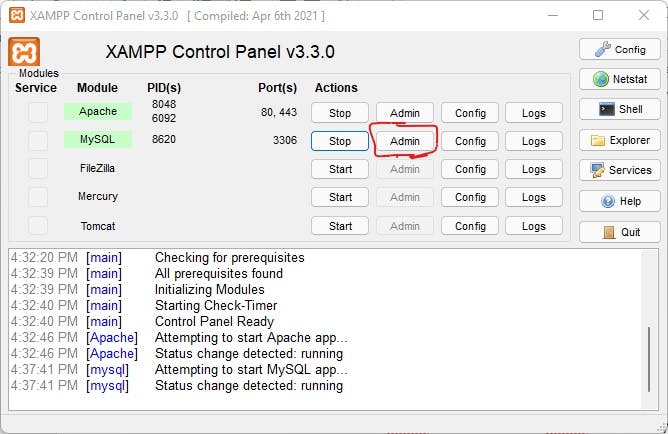
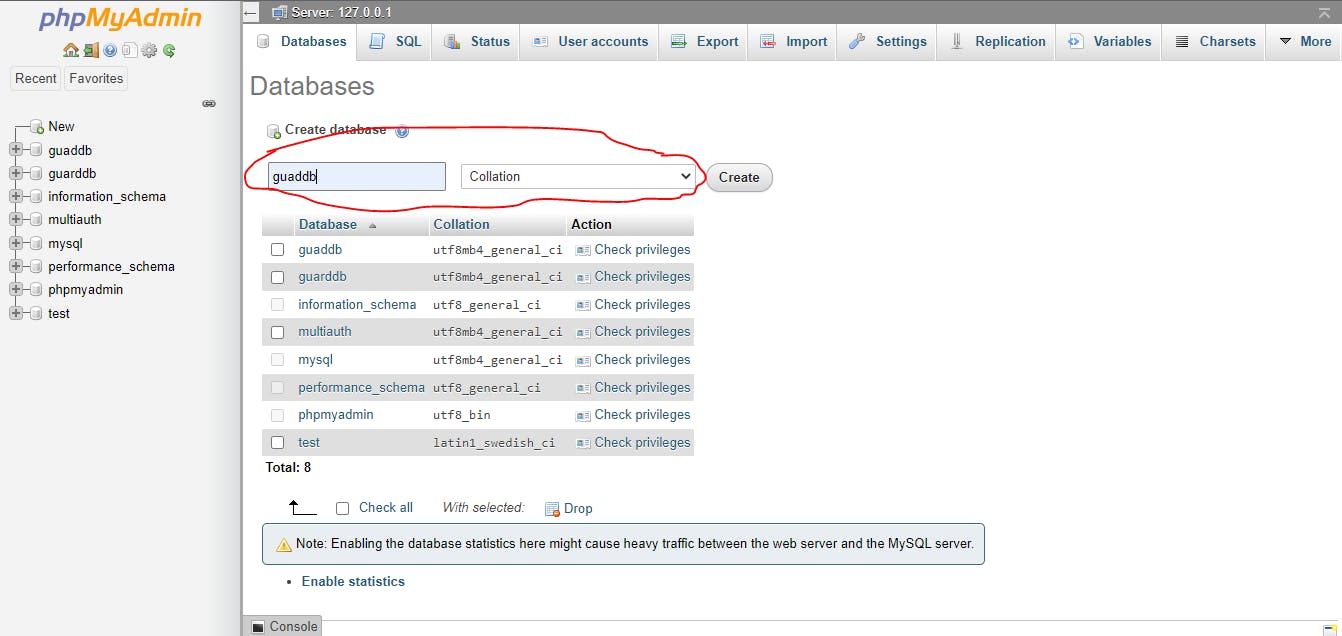
Click on Admin on MySQL and a new tab will open in your browser. This tab is where you will create a database for the laravel application.
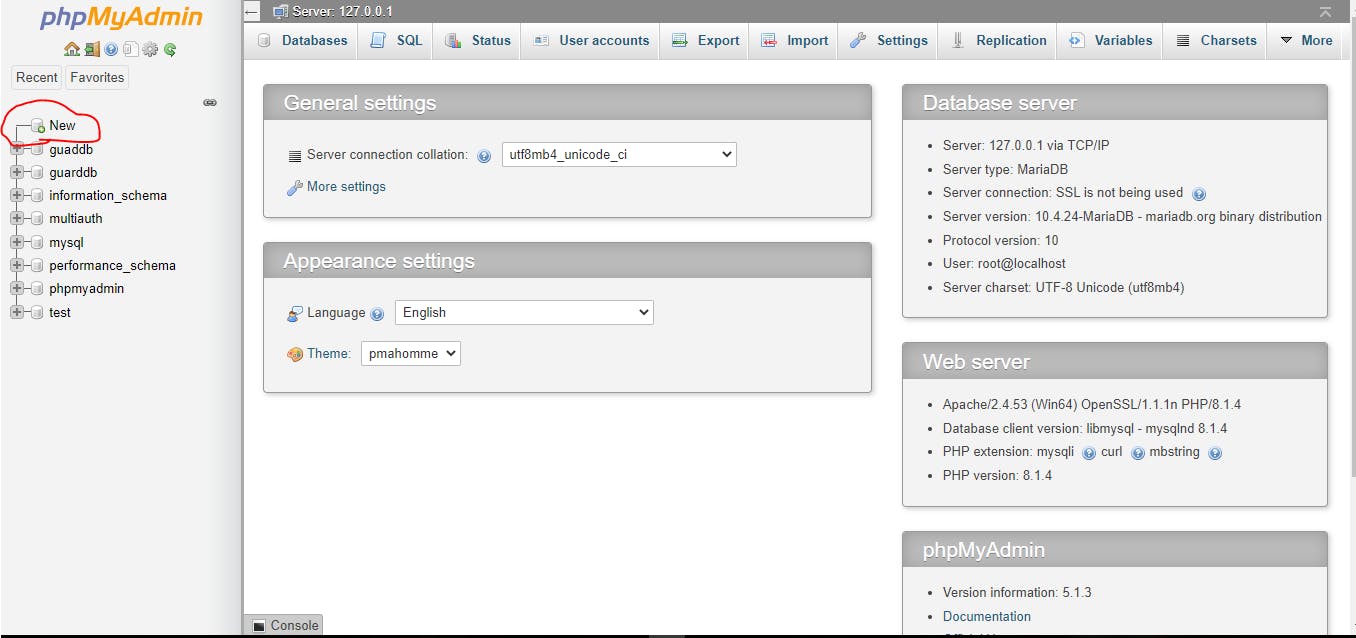
Click on new and name the database guarddb. Select collation in the next field and click on create. There will be a new database created. After creating the database, you will notice that it is empty.
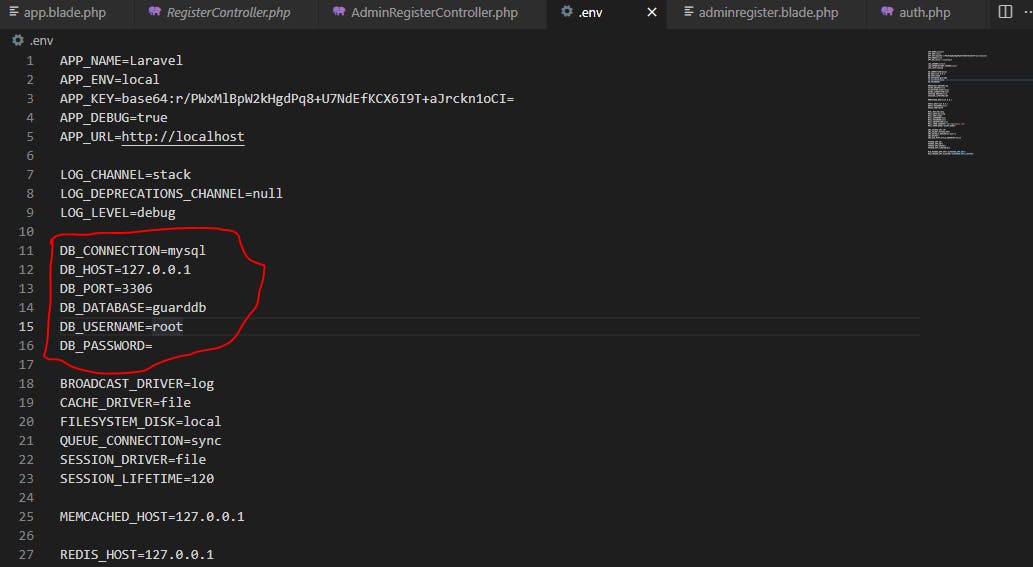
Next, open the .env file and rename DB_DATABASE to guarddb. The default DB_USERNAME is root.
Making Migrations
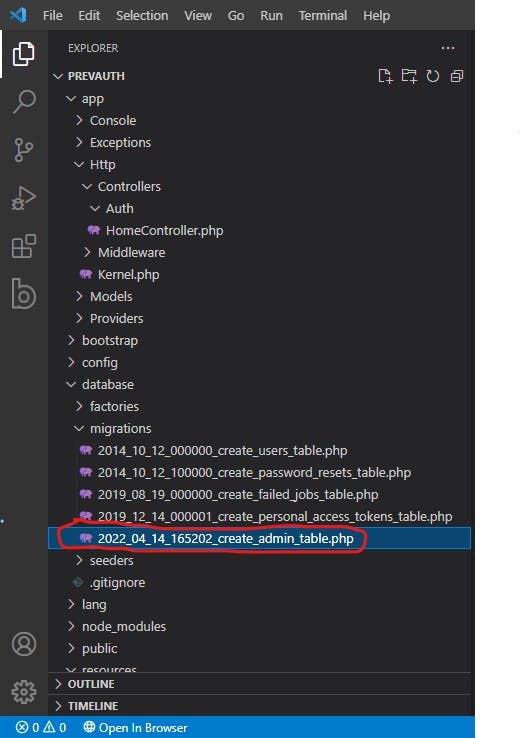
The database has been created and added to the .env file. Next, you will have to run the Php artisan make:migration command followed by create_table_name. This command will add a new table to the existing database. Let’s say you want to create a table for admin users in the database for your Laravel application. The table name will be admin. Running the command Php artisan make:migration create_admin_table will add an admin table to your database.
- Up And Down Methods
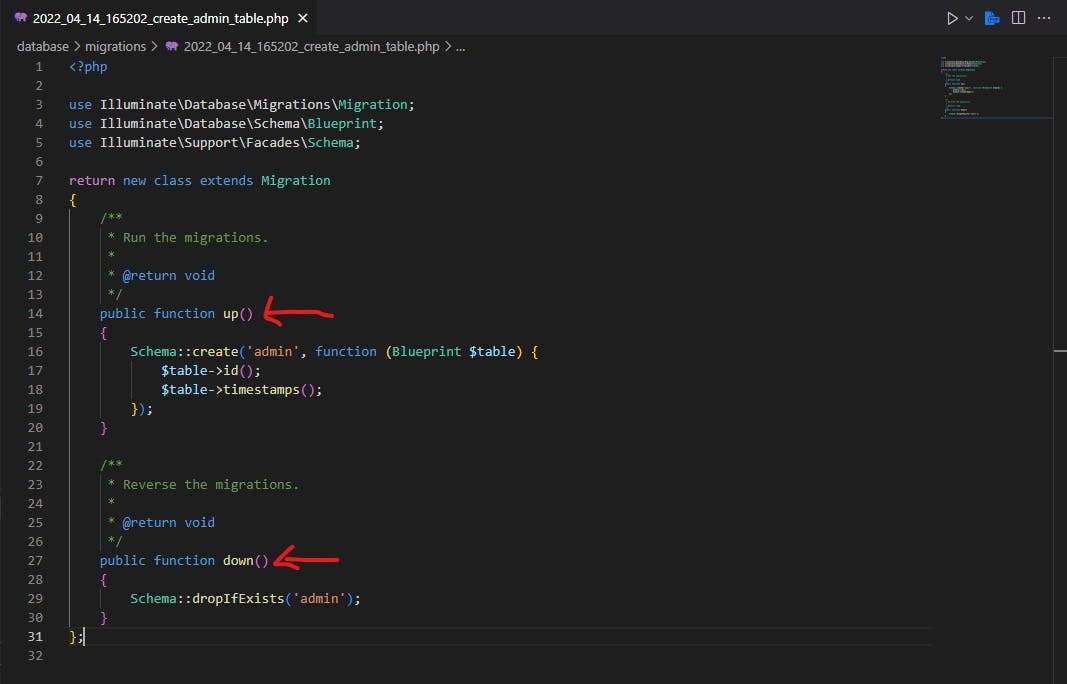
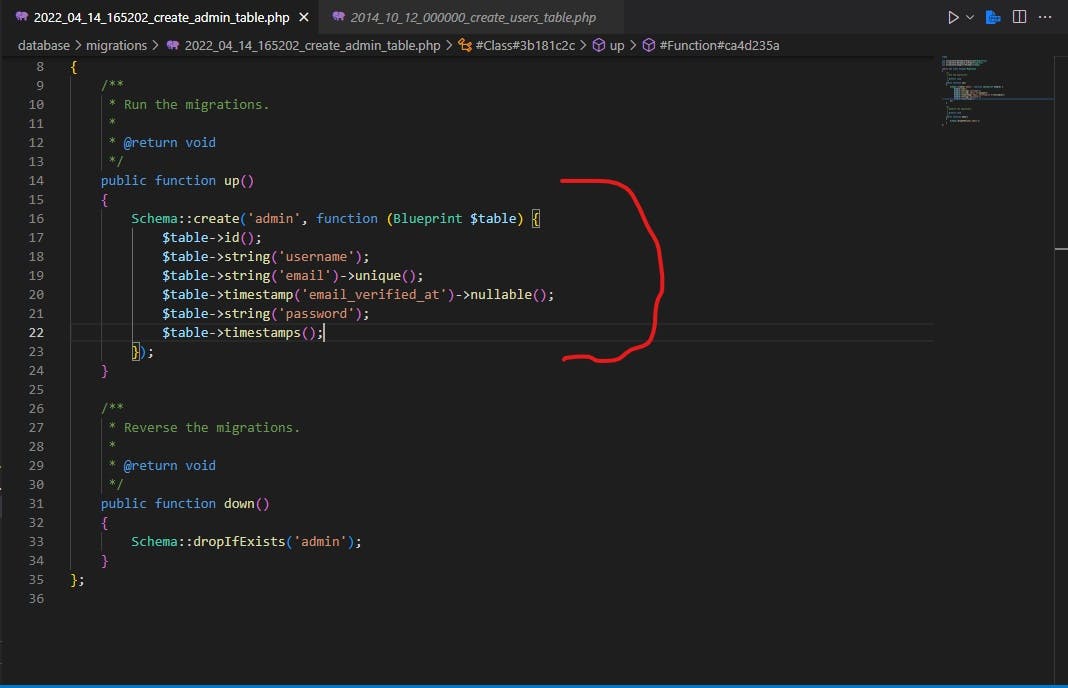
In the admin table file, you will notice two methods. The Up and down method. The up method here will add new columns to the admin table and the down method will revert whatever changes the up method has made to the admin table in your database.
 Next, you will add the following columns to the admin table.
username
$table->string('username');
$table->string('email')->unique();
email verified at
$table->timestamp('email_verified_at')->nullable();
password
$table->string('password');
Run Migration
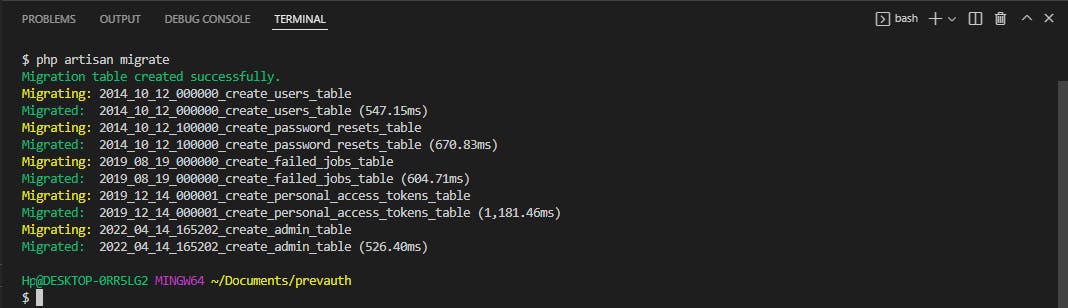
Once your database is connected and tables are created, run the command php artisan migrate. This command will migrate all your tables into the database you had created.
As you can see in the admin table, the columns username, email, email verified at, password, user-id and timestamps(created at and updated at ) have all been migrated along with the admin table.

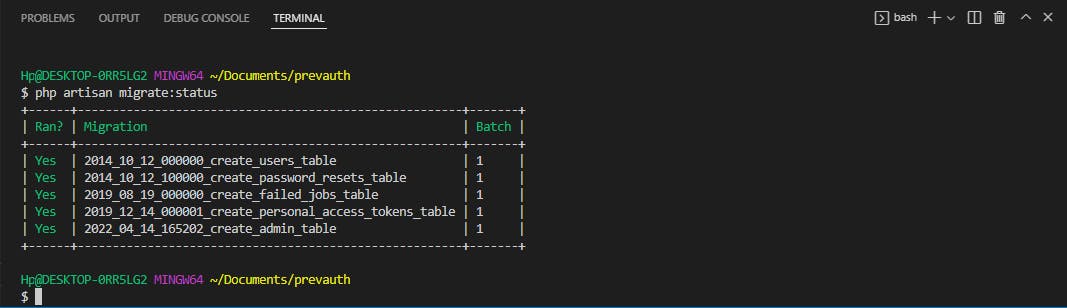
Also you can see all the tables that have been migrated to your database right through the terminal. To do this, run the command php artisan migrate:status. A list of all the tables will be shown and whether a table has been migrated or not.
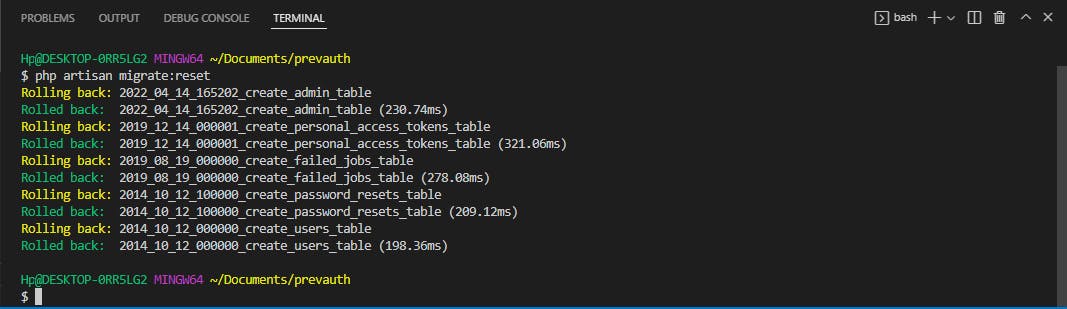
Run the command php artisan migrate:reset to remove all the tables that had been migrated to your database.
Conclusion
Migration in Laravel is helpful as it makes updating changes made to the database easy. I hope this was helpful to you in understanding migrations in Laravel.